Regular ear cleaning is an essential part of your dog’s grooming routine. Keeping their ears clean and free from excess wax and debris helps prevent ear infections and discomfort. While it may seem intimidating at first, cleaning your dog’s ears can be a straightforward and positive experience for both you and your furry friend. In this article, we will provide a step-by-step guide on effectively and safely cleaning your dog’s ears.
Step 1: Gather the Necessary Supplies for Ear Cleaning
Before you begin, gather the supplies you’ll need for the ear cleaning process. These include a quality ear-cleaning solution specifically formulated for dogs (available at pet stores or recommended by your veterinarian), cotton balls or pads, and treats or rewards to make the experience more enjoyable for your dog.
Step 2: Create a Calm and Comfortable Environment
Choose a quiet and calm area in your home for the ear-cleaning session. Minimize distractions and ensure your dog feels secure and relaxed. Providing a soft surface or placing a towel under them can enhance their comfort. Cleaning your dog’s ears at a time when they are relaxed, like after your morning walk, can also make the process easier and more comfortable.
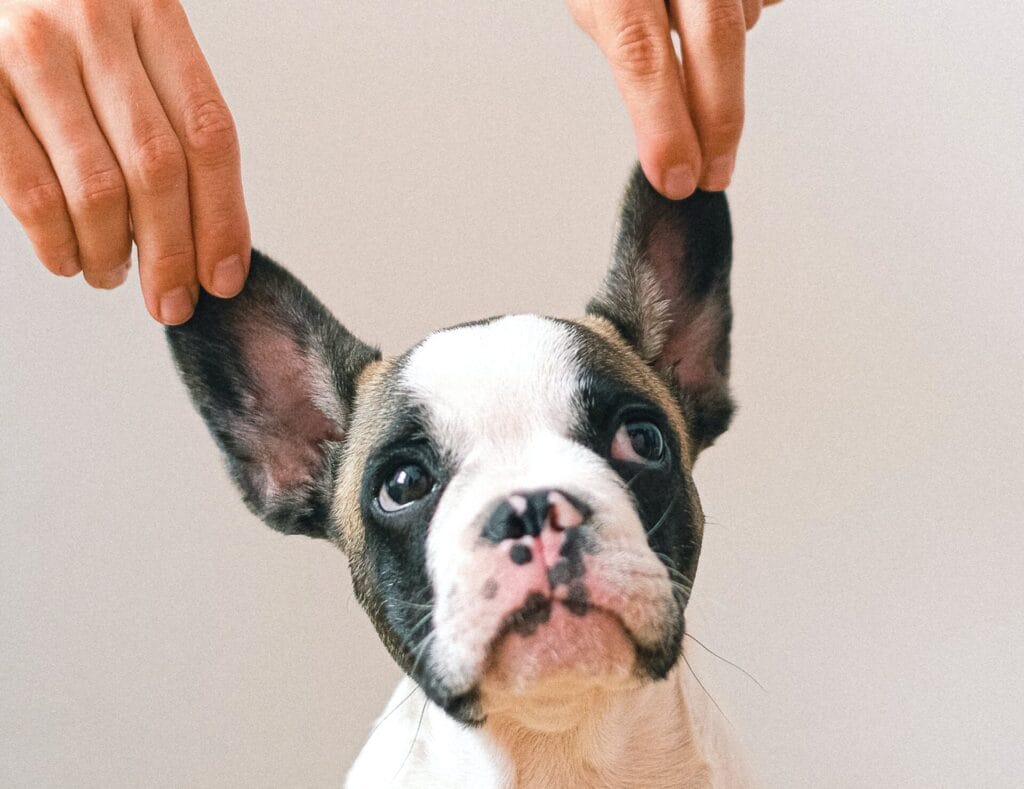
Step 3: Examine the Ears
Before cleaning, take a moment to inspect your dog’s ears. Look for signs of redness, swelling, discharge, or a foul odor. If you notice any abnormalities or if your dog displays signs of discomfort, it’s best to consult your veterinarian before proceeding with cleaning.
Step 4: Apply the Ear Cleaning Solution
Follow the instructions on the ear cleaning solution bottle. Gently hold your dog’s ear flap (pinna) and lift it slightly to straighten the ear canal. Carefully pour a small amount of the ear-cleaning solution into the ear, being cautious not to insert the tip of the bottle too far into the ear canal. The solution will help break down wax and debris.
Step 5: Massage and Soothe
Gently massage the base of your dog’s ear for about 20-30 seconds. This helps distribute the cleaning solution and loosen any debris or wax buildup. You may hear a squishing sound, which is normal. Massaging also provides a soothing and positive experience for your dog.


Step 6: Wipe away the Debris
Use a cotton ball or pad to gently wipe away the dissolved debris and excess solution from the visible part of the ear canal. Avoid using cotton swabs or inserting anything deep into the ear canal, which can cause injury or discomfort. Wipe in a downward motion, following the natural curve of the ear.
Step 7: Repeat on the Other Ear
If your dog’s ears require cleaning in both ears, repeat steps 4 to 6 on the other side. Be gentle and patient throughout the process, ensuring your dog remains calm and comfortable.
Step 8: Reward and Praise
Throughout the process and after each ear is cleaned, reward your dog with praise and treats. This positive reinforcement helps create a positive association with ear cleaning, making future sessions easier.
Step 9: Establish an Ear Cleaning Routine
It is important to regularly clean your dog’s ears as part of their grooming routine. The frequency may vary depending on your dog’s breed, ear shape, and individual needs. Consult with your veterinarian to determine the appropriate cleaning schedule for your dog.
Step 10: Monitor for Changes
After cleaning, continue to monitor your dog’s ears for any signs of infection, inflammation, or discomfort. If you notice any unusual symptoms or if your dog shows persistent signs of discomfort, consult your veterinarian for a thorough examination.
Cleaning your dog’s ears is important to their overall hygiene and health. By following these step-by-step guidelines, you can safely and effectively clean your dog’s ears while ensuring a positive experience for both of you. Regular ear cleaning and professional veterinary care will help keep your dog’s ears clean, healthy, and free from infections.